
How to Name a Range in Excel
This range in Microsoft Excel is a really helpful tool that gives you a simple picture of the spread of values it contains. The range in Excel is very useful as a starting point for analyzing data but also a great thing to consider if you’re producing something like a box and whisker plot. Naming your ranges in Excel also helps you save time and improve efficiency. Let’s take a look at the three ways with which you can name a range in Excel.
Table of Contents
Three Ways to Name a Range in Excel
Using the Name Box
- Select the range for which you want to create a name (do not select headers).
- Go to the Name Box on the left of the formula bar and type your preferred name for the range.

- When you name a range here, it will apply to the entire workbook, across all sheets. In case you only want the range to be named on a particular sheet, the previous, Define Name method is ideal.
Using Define Name
Here’s how you can name a range in Excel with the help of the Define Name feature:
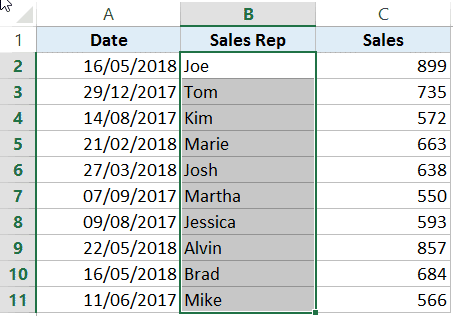
- Select the range for which you want to create a Named Range in Excel.
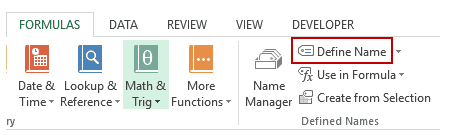
- Go to Formulas –> Define Name.
- Once the New Name dialogue box opens, just type in the name that you want to assign to the selected data range. You have the option of specifying the scope as the entire workbook or a specific worksheet. In case you select a specific sheet, the other sheets won’t have that name.
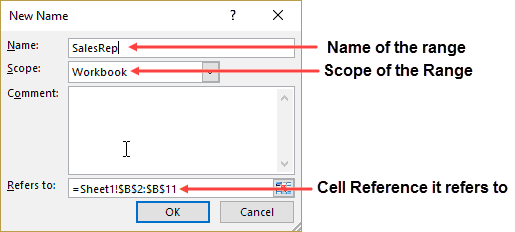
- Click OK.
You have successfully created the Named Range SALESREP.
Using Create From Selection Option
When your data is in a tabular form, and you wish to create named ranges for every single column/row, this is the best option for you. Let’s take a look at this with an example. In the dataset below, if you want to quickly create three named ranges (Date, Sales_Rep, and Sales), then you can use the method shown below.
Here are the steps to quickly create named ranges from a dataset:
- Select the entire data set (including the headers).
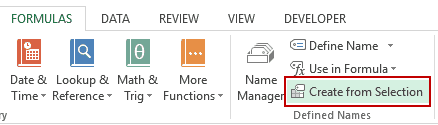
- Go to Formulas –> Create from Selection (Keyboard shortcut – Control + Shift + F3). It will open the ‘Create Names from Selection’ dialogue box.
- In the Create Names from Selection dialogue box, check the options where you have the headers. In this particular example, you need to select the top row as that’s where the header is. In case both your top row and left column contain headers, you can select both. Similarly, if your data is arranged when the headers are in the left column only, then you only check the Left Column option.

This will create three Named Ranges – Date, Sales_Rep, and Sales.
So, those were the three ways you can name a range in Excel. Hopefully, you will be able to do that with ease in the future.